Washi Tape - I LOVE, LOVE it!!

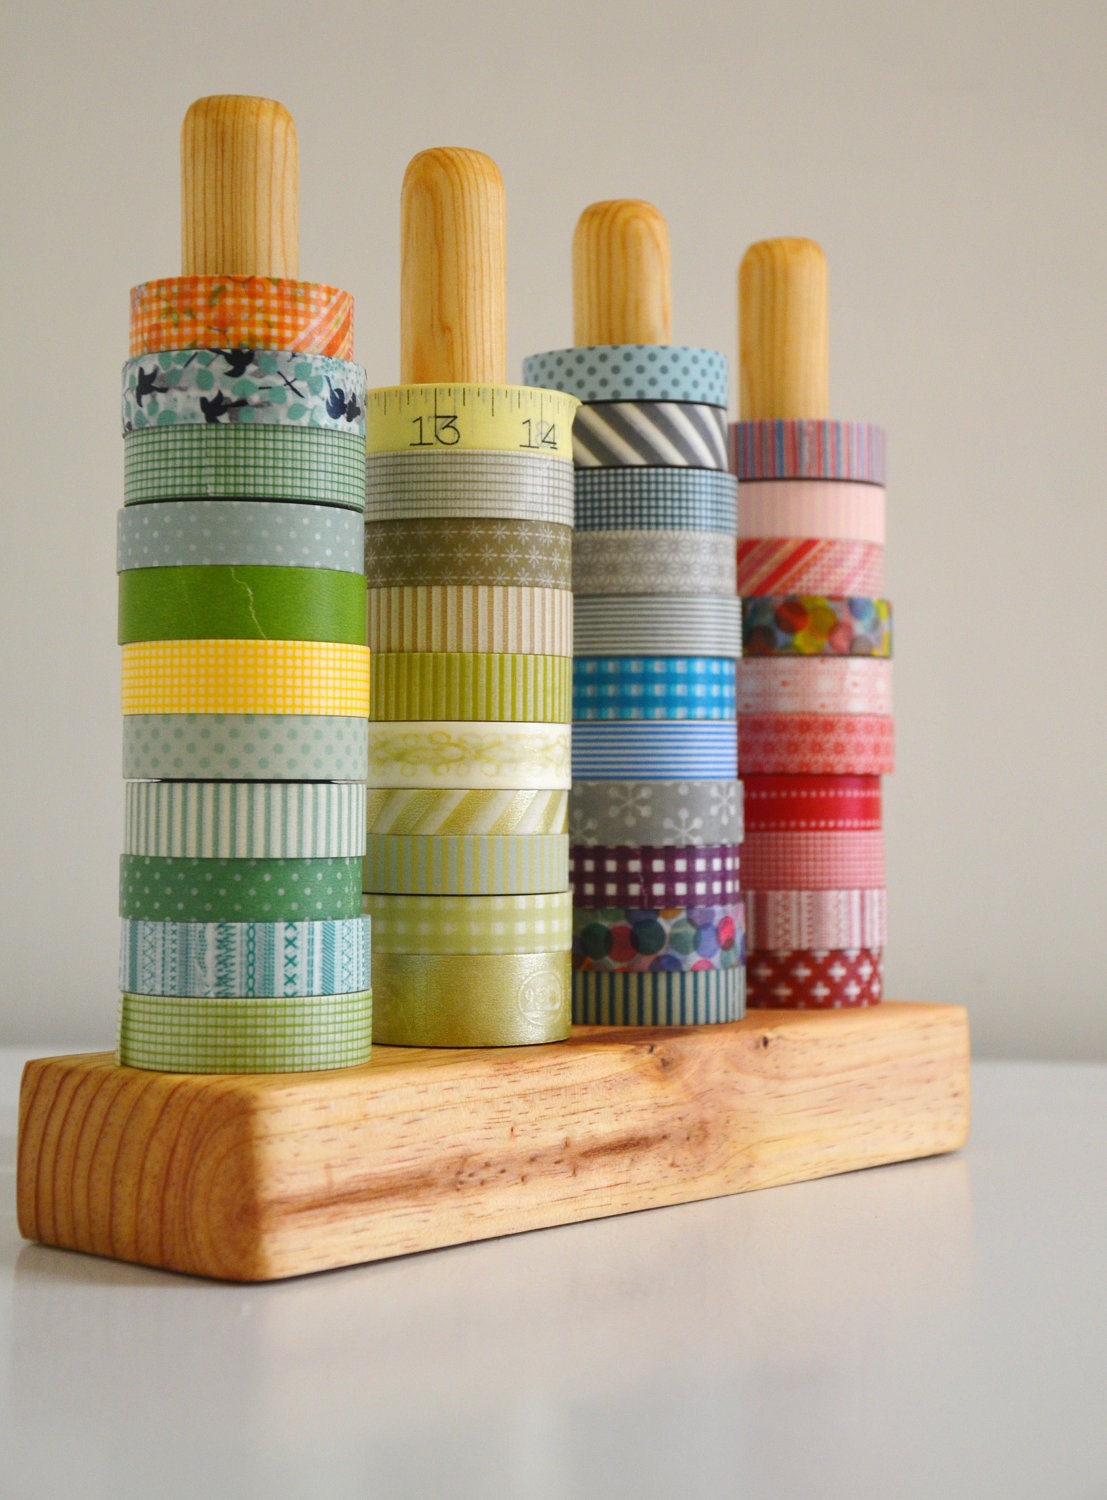
Washi tape! Have you seen it? Have you used it? For those of you who don't know what Washi tape is, the best way I can describe it would be to compare it to masking tape, but with a pretty color or design on it. It is also some what transparent, and the best part about Washi tape is it is removable and can be re-positioned if you didn't tape it down just right. 

Washi Tape Organizer - Wood Masking Tape Holder - Eco friendly Japanese Tape Dispenser for 48 rolls - coworkers gift - under 50

I had to see what all the hype was with this tape. I bought my first rolls at Target (they sell 4 rolls in a pack for $4.00!). I was hooked and began to go on a hunt for more colors and styles! I was some what disappointed that my local craft stores and big name stores did not have the tape or had a very little selection. So I went to my trusty friend Google! Wow! There are hundreds of sites that sell Washi tape! 


My next thought was "What do I do with this?" I began to play with it on my own and also looked at Pinterest for ideas. I began to get carried away with it and I do believe I now have a Washi tape addiction!


I used it on my tickler file folders (they are so pretty now). I just added the tape on the folder file and trimmed it. Then I used my label maker with clear tape!


I label the bazillion cords we have. Now when I am looking for my iPhone charger, tablet charger, or camera charger they are easy to find. I wrapped the tape around the cord and just used my label maker again. My boys are starting to have electronic gadgets, and I will be labeling their cords with their names so my cords don't disappear!


I had a small scrapbook album that I could not decide how I should design the cover.....insert Washi tape here!!! I just wrapped several pieces around the cover.

We had some friends coming over and I decided to make cupcakes. Of course I remembered seeing the cute flags for food on Pinterest so I had to do that. I wrapped the tape around a toothpick, trimmed the end to make it look like a flag and then punched up a few Valentines Day words on my label maker to slap on my flags!


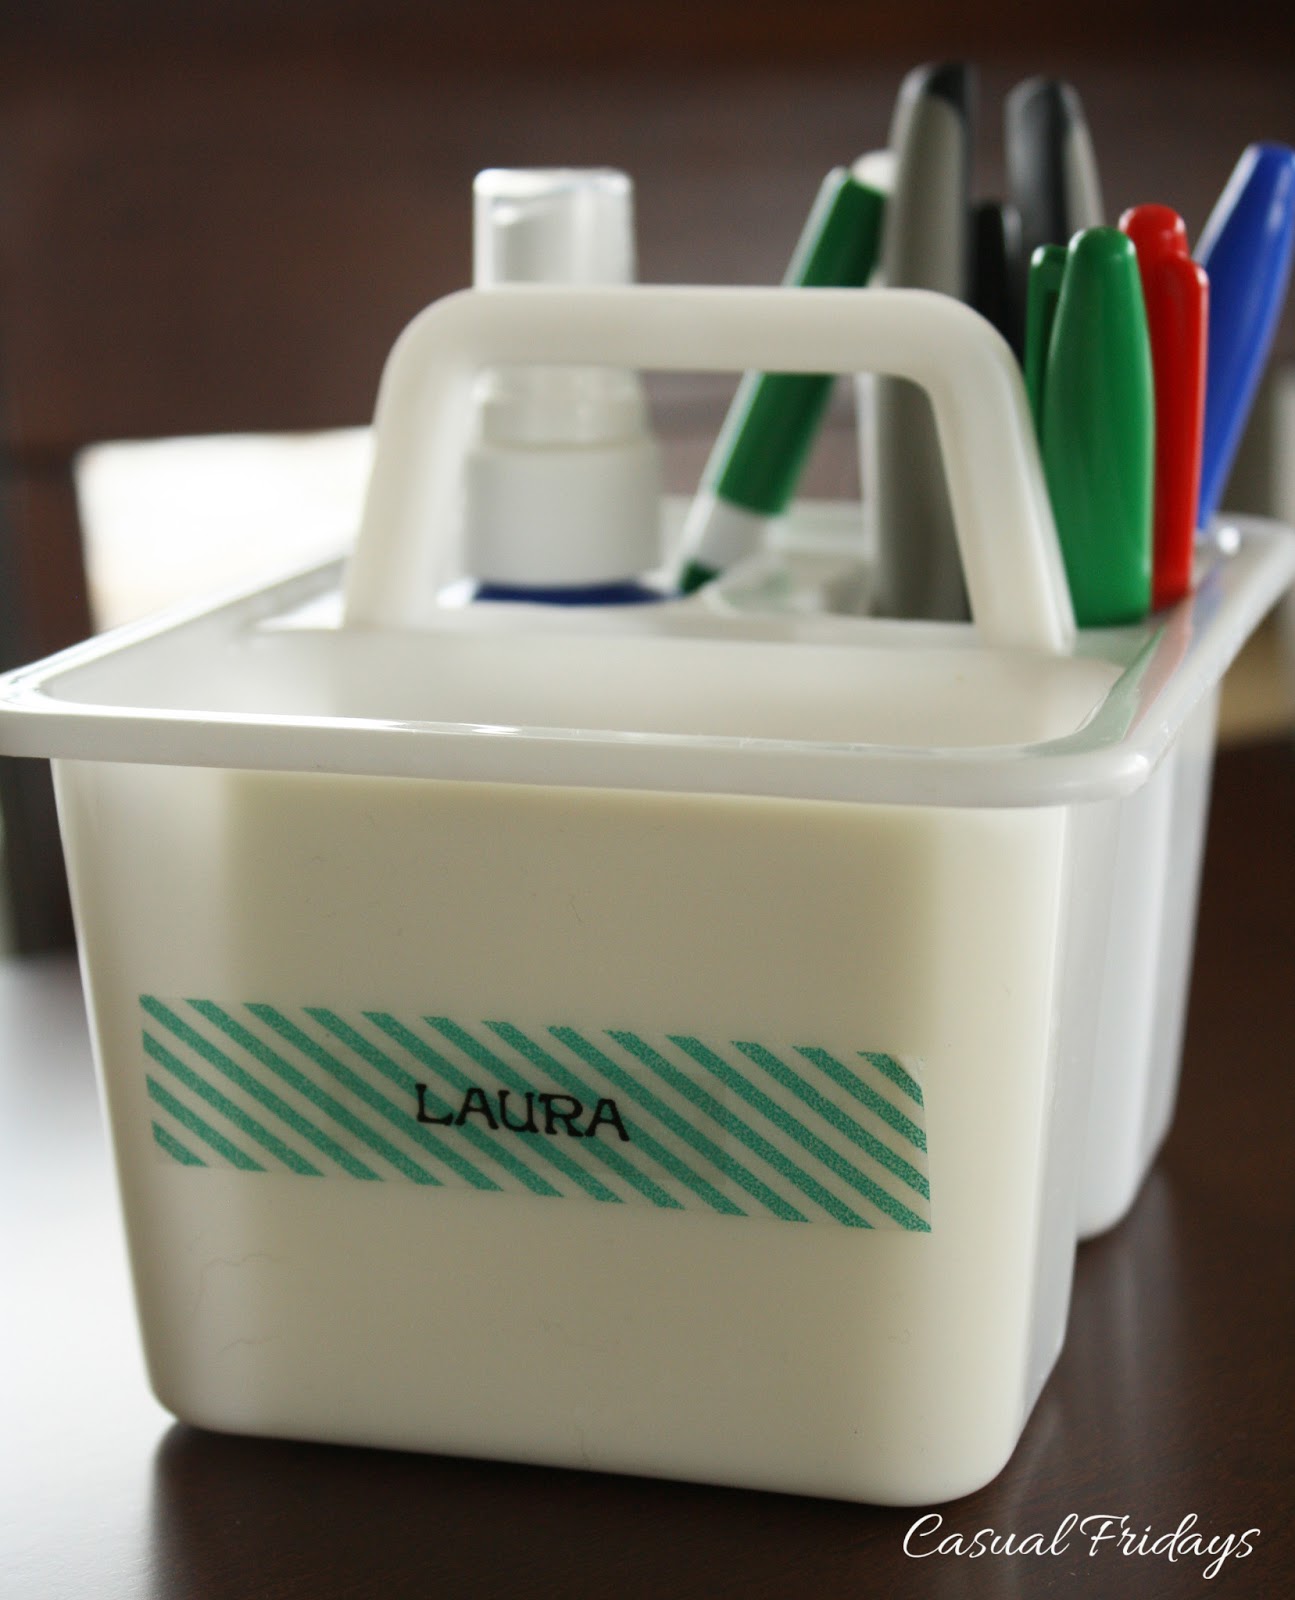
I labeled my caddy that holds all my daily pens, scissors, dry erase cleaner and markers and post it notes


I am currently working on re-doing my recipe binder (post to come later on this!) so of course I wanted my tabs to look pretty!

 
I am constantly finding new ways to use this awesome tape! My question to all my Washi tape lovers out there is how are you storing your tape? I don't have many now so I am using this 3 layer snap case but I know I will be out growing that soon!


Happy Organizing!

Subway Art

I am loving the subway art I have found around the internet and seen in stores. I wanted to share this site with my readers today as these ladies make amazing subway art and the best part, they are super generous and let you download them for free! Their blog is one of my favorites as they have wonderful ideas so take a spin around it when you are there! They are the ladies of of eighteen25!

I printed their Valentines Day subway art, framed it, added a few hearts on the frame, and put it up! I love it....perfect for my Valentine's Day decor!


Here are some of their other awesome designs! Click HERE and it will take you to their site to download. Don't forget to leave them some love!


ENJOY!!

Love Bug Butterflies!


I love craft time at our house. I found this craft online and knew the kids would love to make them. 


I started running around the house telling everyone not to throw away the toilet paper rolls when they finish a roll (this happens a lot in my house so my family is used to my craziness!). I then spent some time prepping for the craft. I have found if you have all the supplies ready and you only have to give the instruction, our craft runs much smoother. I precut some Valentine scrapbook paper for the body. I then pulled out my Cricut machine and cut 1 in and 3 in hearts out of 3 solid colors (white, pink, and red) using George Basic cartridge. I also use B is for Boy cricut cartridge to cut out a mouth for each butterfly. I gathered some googly eyes and twisted some pipe cleaner around a pen. I was set to go!


We already have our buckets that have everyone's supplies in them for school or crafts. You can see them HERE in our playroom. All we needed was our glue sticks. The kids were so excited to start. 

The instructions are easy.
  1. Glue pre-cut scrapbook paper around the tube.
  2. Glue 1 in hearts on two 3 in hearts.
  3. Glue 3 in hearts on the back of the tube to appear as wings.
  4. Glue mouth and googly eyes on.
  5. Attach antennas. I attempted to staple them to the tube but that was difficult so I ended up taping them to the inside of the tube. 
And here is how the kids love bug butterflies turned out! 


Visual, Audtory or Tactical Person

Are you a visual person? Do you learn thing better if they are hands on or can you read or hear instruction and go to work? I am a visual learner for sure! I learn, comprehend and remember things better if I visually see it.

Let me tell you a story about my "Mom of the year" moment. I am sitting at my computer, doing homework. There is a knock at the front door. I see a child peeking in the window. As I get closer I see my son peeking in the window. It's 2:00pm. I open the door and ask "Nathan what are you doing here? What's wrong?" He replies, "you never came to get me at school!" Then the "OMG it was an early release day" sets in!. Now what's worse in this story is my neighbor asked if I could pick up her kids too as the internet guy would be at her house and she couldn't leave. So not only did I forget to get my kid I forgot to get my neighbors kids too! Yep Mom of the year award goes to.....ME! I felt terrible! Thank God we live less than a block from the school and our kids were smart enough to walk straight home. After apologizing to my neighbor a gazillion times and making sure her kids made it home ok I began the thought process.....how did I forget that. It was written in my planner but that's the problem. My planner is not in front of me all the time. It floats around the house.


Part two of the story: Paper is consuming me and my kitchen. Lately the paperwork the kids bring home from school, and the mail is turning my breakfast bar into a desk. It is driving me crazy. In our old house I clipped important things to my fridge and always had a calendar posted. This calendar was more for my husband, so he could see what the kids and I had going on and could stay in the loop. Or so I thought. After today's incident I realized that I need a visual calendar, visual spot to jot down important reminders and some where to stash the paperwork!!!

The first thing I did was find this super cute free printable on 
Pinterest from The Tomkat Studio
 
I put all the kids school dates on it, birthdays, anniversary, plans, and appointments. The next thing I did was go on a hunt for some organization tool to calm my chaos of paperwork. I came across this 
awesome goodie at Target.


I knew it would work. Each child has a place for their school work, I can jot down important reminders on the whiteboard, I pinned our calendar, menu and Hawks schedule (we are big hockey fans). Now every day I can SEE what is going on in my week and hopefully I will never forget an
 early release day again!  


How do you organize paper and remember important dates?

Happy Organizing!

Spice Organization

A friend of mine asked me how I organize my spices. Like this:


I label all my spices so I don't have to pick up a gazillion jars to find the one I am looking for. I place them in one of my pull out drawers in one of my kitchen cabinets. It makes it so easy to pull the drawer out and find what I am looking for and is a great time saver.


How do you organize your spices? What works for you? 

Happy Organizing!

Grand Prize Week for the New Year's Organizing Revolution

First I would like to say thank you to all my friends, family and followers for your generous votes last week on my playroom. All those votes help land my organized playroom in first place!!! Also a huge thank you to the "Top Organizing Bloggers" for running the challenge and the wonderful prize sponsors! They really motivated me to start the year off organizing!!


Because I won first place I am now in the Grand Prize drawling going on now! So once again please go vote for me! I am number 10 which just happens to be my lucky number! Head on over to any of the below organizers blogs to vote. While you are there take a spin around their blogs as they have some amazing organizing post and great giveaways!
 Voting ends Wednesday at 9pm PST.

Happy Organizing!

Organizing the Playroom!!


 This week I worked on the playroom. My kids are the luckiest kids in the world as we finished the basement in our new house just for them. They pretty much have the run of the basement, for now. 

Clean up time can make or break us! My youngest always needed direction when cleaning up, what to pick up and where to put it. I dreamed about the day that I could say clean up time and my boys would just do it. 

Well that day has come, after some organization happened. So let's dive right in. Here is the playroom area before me moved in. A lot of space and I knew if it wasn't organize it would be a sea of toys in no time.


In comes Ikea. I love their goodies! My husband and I went there for my scraproom and the playroom. We have a lot of Legos here.....I mean a lot! My son is a Lego engineer, and is always building so I knew I wanted a space for him to store, display, and build. So we created a Lego area.


I love the Ikea piece I picked out. It has bins for all his legos, and he can display what he has built on top. My son and I separated all his Legos by color, and gave them a bin. I then label by color so the youngest can find the color, and put the right color Lego in the bins. We even have some empty bins to grow the Lego collection. The table from Ikea is nice and wide and gives both of them plenty of space to build. 


I am currently in school to become a teacher so of course I have a school area! After school, and after snack, we come down to do our homework. Each child has a bin (labeled with their name) with a pencil, dry erase marker, eraser, scissors and glue stick so we don't waste time getting our supplies out. Next to our table I have a 4 drawers that hold our supplies, markers in one, other supplies in another, paper in one, and our learning flash cards in the bottom drawer. I use clear plastic bins to hold our coloring items, and the other two hold our school workbooks. The kids seemed to pull out coloring/workbooks when they can see them. The kids get their homework done and out of the way giving them more playtime later and I fulfill my passion to teach! Even my youngest saves his preschool homework so he can do it with the big kids! 


The next area I had to conquer was the the toy area. Before we moved we had bin after bin after bin of toys! As we packed our old house I had the kids go through their toys, and pick what they were ready to give away. They did great at this! In our old house I had used one of the Ikea Expedit bookcase and laid it on it's side. I purchased baskets and all our toys went in there. It worked for us so I knew I would be using that system again. We purchased two of them, put the baskets in, and filled them with toys. Each bin contained certain toys, and I wanted the boys to put them away in the right bins. I searched the internet for a picture of the items that belong in that bin, printed it out, cut, laminated, and tied them onto the bins. The kids love it! The picture helps my youngest one know what items go in the bin and my oldest is starting to read so he love to read the tags. When we change the toys in the bin we change the tag! It also helps when our kid's friends come over! 


I also have my DIY chalkboard table. That was such a fun project and you can go here to read about it, and see my before and after pictures. The kids love to draw on the table, and their easel is near by to continue their imagination.


What's behind door number two.....storage. We kept part of the basement unfinished for storage. In here is our old Expedit and I have filled most of the bins with toys. When the boys are bored with the toys in the toy area they can just switch out the bins. The shelves hold all of our games, some larger toys too big for the bins, and the plastic bins hold toys that we can rotate into the bins when we do a toy swap.


I love how our playroom is evolving. We still have ideas that we want to put in place but my main focus was to give my children a space of their own and organize it in a way that would make it easy for the kids to take care of their space. Clean up time is no longer a struggle
 (well we have our days here and there). 

 Happy Organizing!!!