Happy Bee Day

Now that I have my Scrap Room all organized (you can see my space here) I have been playing in my room so much. I saw this SVG file and knew I had to make a birthday card with it!


Supplies:
Pattern papers: Light Brights 6 x 6 paper pad by Designer Paper and The Basics 8 x 8 paper pad by The Paper Studio
Bee:  Flying Valentine Bee from Miss Kate Cuttables
Font: Janda Scrapgirl Dots
Extras: I added some sticker googly eyes (left over from a kid project). I also added some diamond stickles to the antenna hearts, wing, and dots on the title paper.

Happy Scrappin'!!!!

Your One In a Melon!


I have been reading so many blog lately! There are so many talented people out there! I came across a card challenge and couldn't resist, as the sketch was right up my alley. It also has a chance to become a guest designer, and I would love a chance at that! I think it would be so much fun. 

So here is the sketch:

PKC-14-01

And here is my card:


I had so much making this card! I used Light Brights 6 x 6 paper pad by Designer Paper. The Basics 8 x 8 paper pad by The Paper Studio. The watermelon cut if from Miss Kate Cuttables and I used Janda Scrapgirl Dots for the font. I hope you like it! Thanks for stopping by!

Valentine's Day Decor


I love Valentine's Day (no pun intended!). It amazes me that Halloween and Christmas has boat loads of decor items to purchase, and then Valentine's Day comes along and there is hardly any decor to buy. I have some "store bought" decor but I wanted to add more Valentine's decor this year. I ended up getting creative to make some of my own Valentine's Day decor. Most of my decorations are on my mantel.


I love my white lanterns (I will love them more when we paint our walls!). I made a bow and added a red candle to give them some Valentine's Day love. The heart topiary I found at Micheals. And the picture frame a score at Hobby Lobby.


My glass hurricanes are my favorite pieces in my home. I love that I can stuff the inside of them with items that go with the season or holiday. I used Valentine's Day garland this time. The love sign also came from Hobby Lobby.


On my tables I used other wood signs and a cute candy heart tree I found at Kohl's. 


Last year I found this subway art from the talented girls over at Eighteen 25!


I needed something for my breakfast bar in my kitchen but after combing the stores for a the perfect decor piece I came home empty handed (insert sad face here). On a run for scrapbooking supplies I stopped at the floral area at Michaels. I decided I would just make a flower arrangement using Valentine's Day colors. I think I got the red bucket at the Hot Spot at Target. 


I might have to cut a vinyl heart or something, to add to the bucket though - I will have to put that on the to do list! My house is always filled with love but now my decor has some love too!

Happy Valentine's Day!

Scrap Room Organized!!! The Reveal

I am in love with my space!! It was a lot of work but so worth it. You can see how my room was set up before HERE. The layout of the room is still the same but I organized the closet and re-organized what was in my cubes and bookshelf. I would love for you to come along on the tour with me. Hopefully you can uses some of my ideas to help organized your crafting space. Let's start with my closet storage.


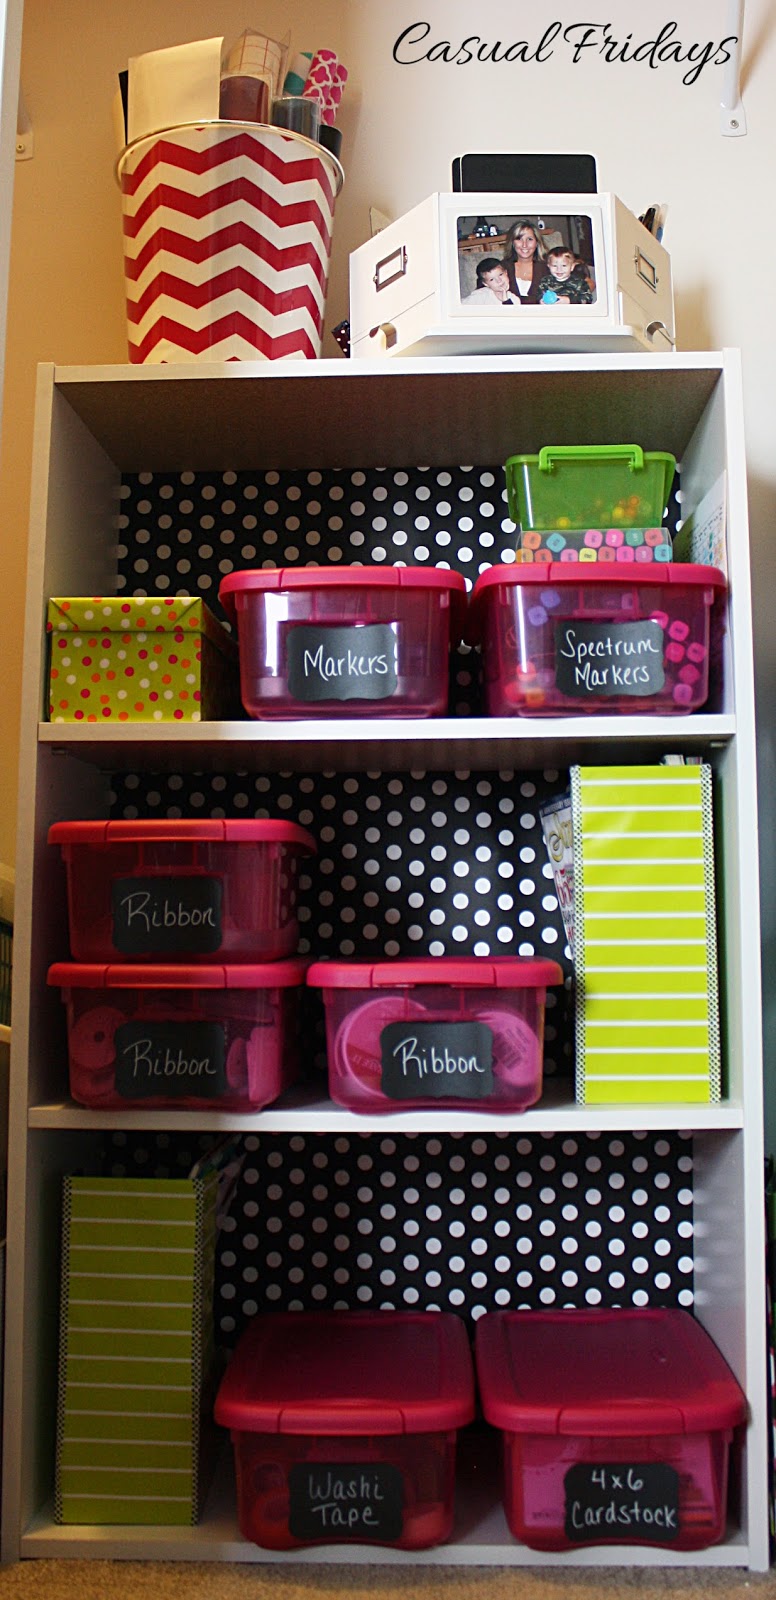
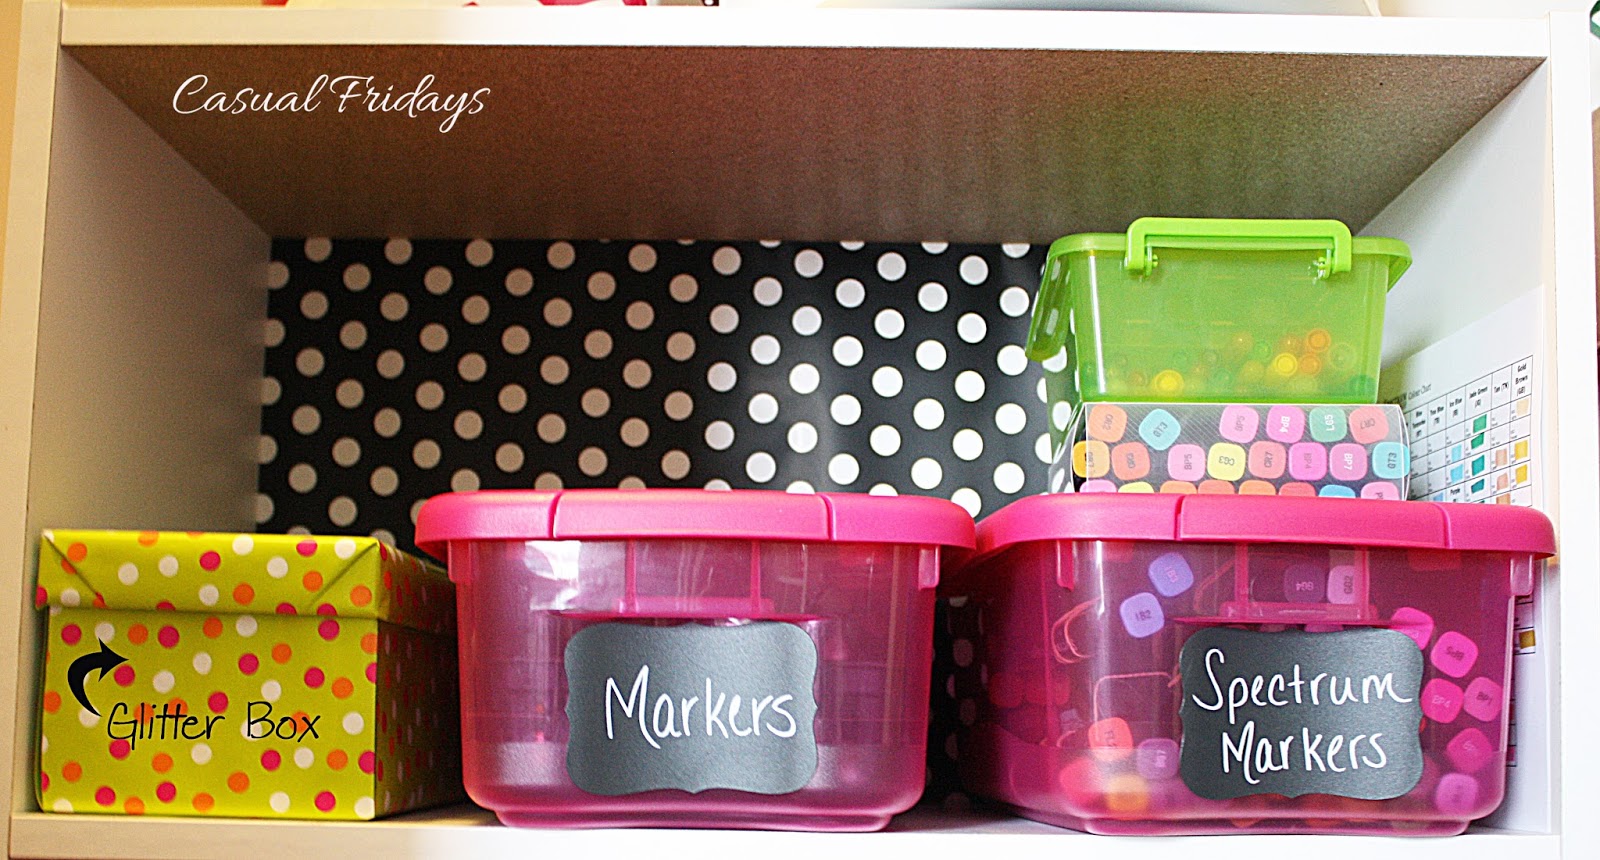
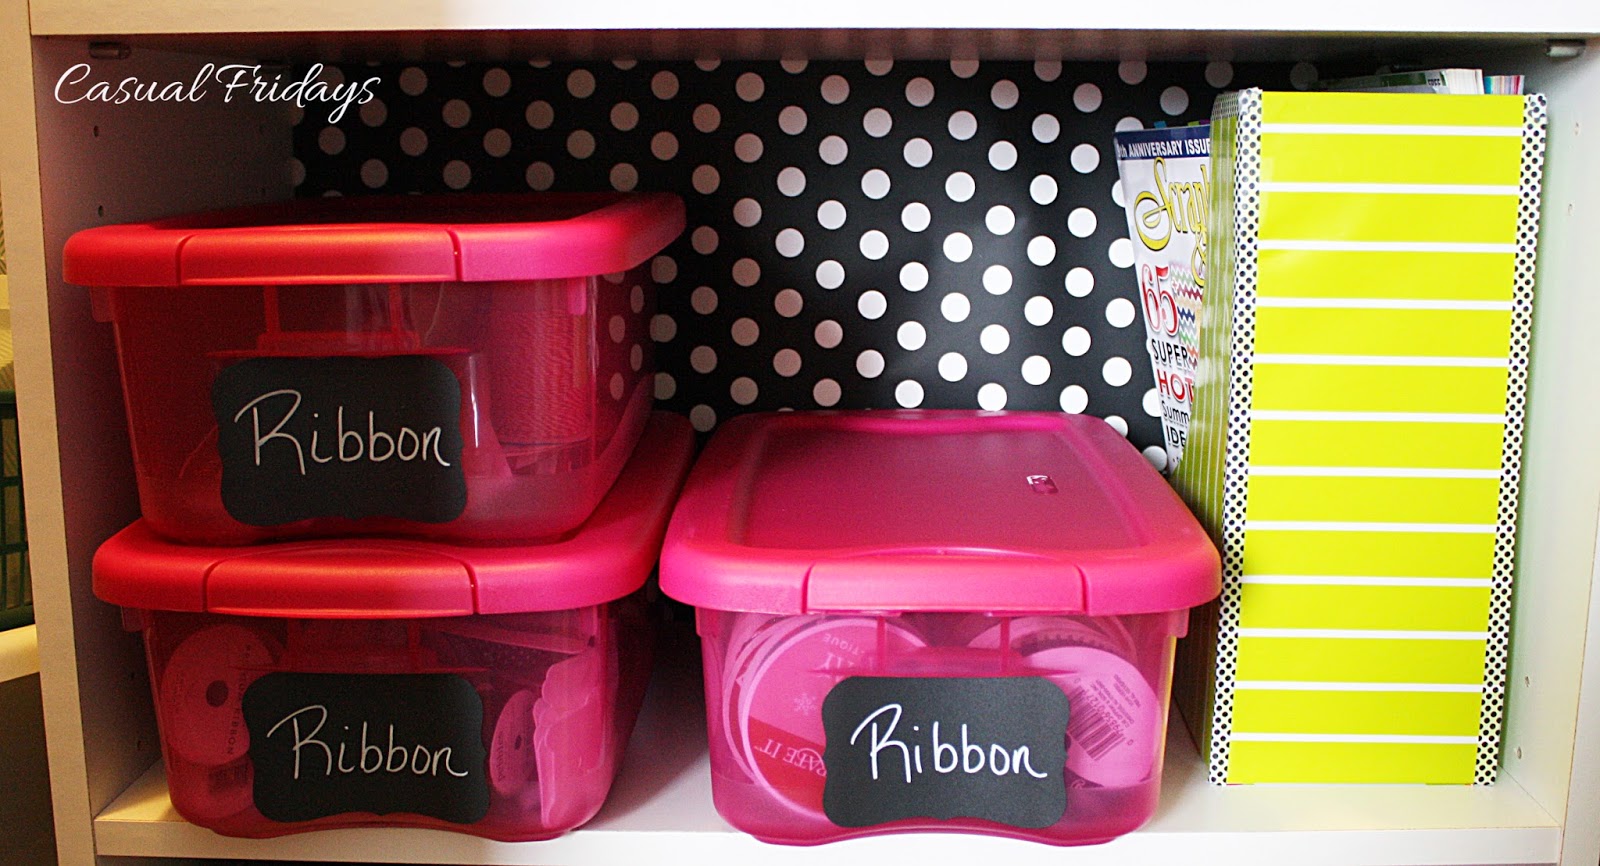
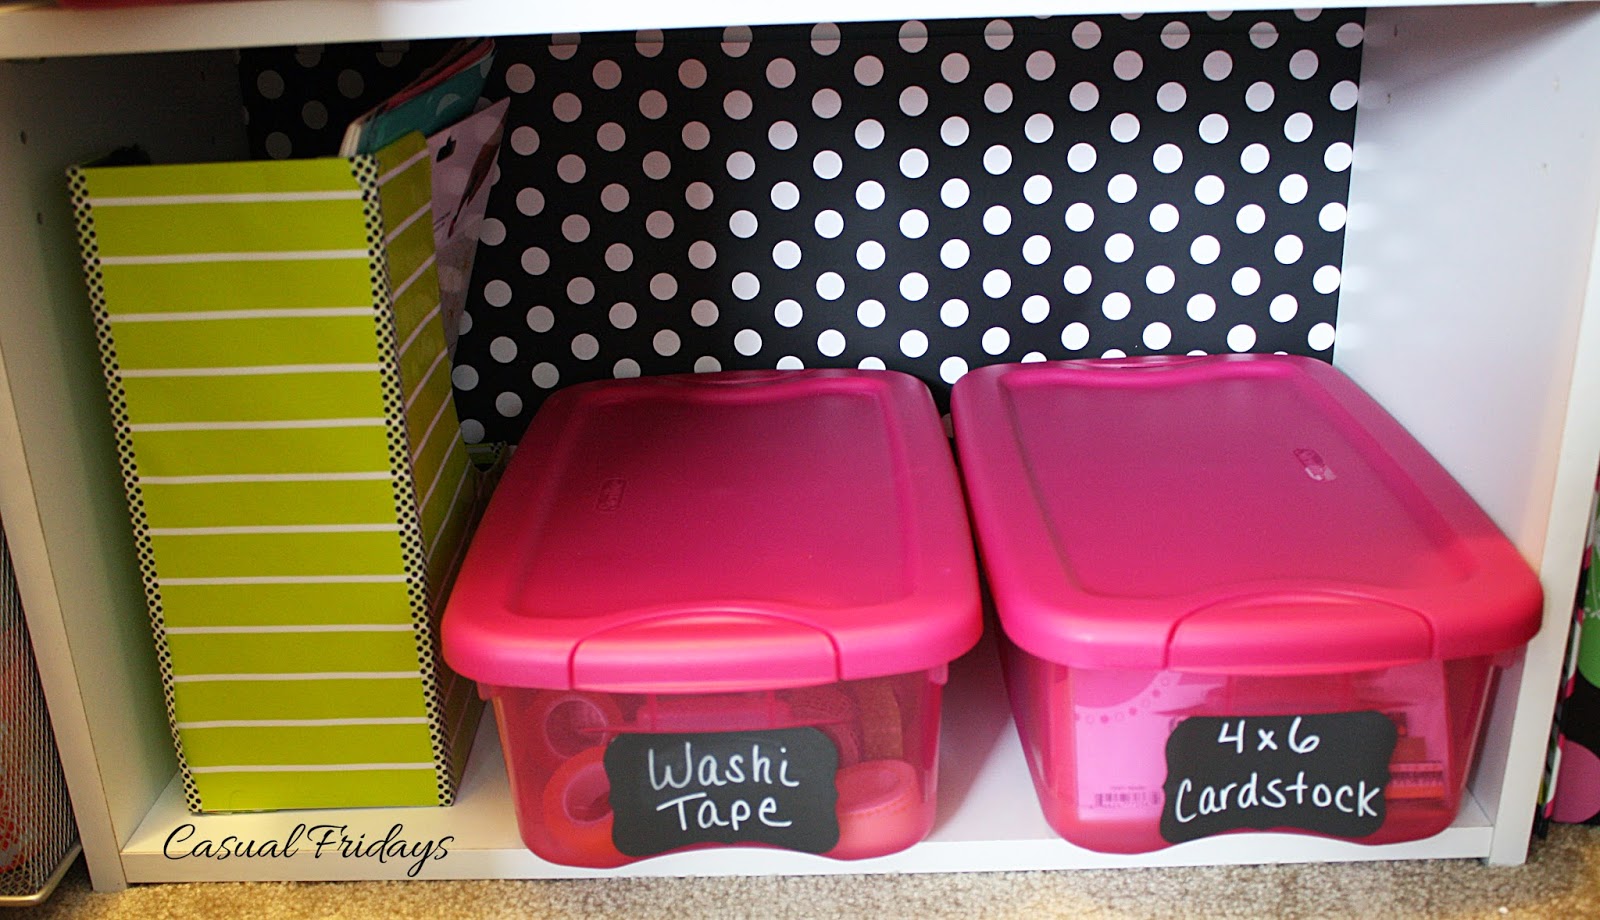
I took everything out of it (which is why my previous post looked like this) and sorted all the items into 3 piles. Keep, donate/trash, or move to storage. I am trying to only keep scrapbook/DIY/school items in my room, so only those items were allowed in the keep pile. I also knew I was not using my space in my closet effectively. Since this is not a closet that will be holding clothes I have the ability to go vertical in my storage. A quick trip to Target and I picked up this 20.00 bookcase. I added some cute paper to the back to make it pop! Meijer had these pink bins on sale and I had no problem finding supplies to put in them. I then added my favorite Martha Stewart chalkboard labels, and wrote what was in the bins with my Bistro Chalk Marker. I added some colorful paper and washi tape to my magazine files to give them a fresh look. The polka dot box (also wrapped in new paper) is my mist/glitter/glue spray box - the inside is not as pretty as the out! The cheveron bin (also a sale find at Meijer) holds all my vinyl and shelf paper.


 I have a love/hate relationship with wire shelving. I hate when things fall through the wire or sit funny. My only shelf in my closet right now is a wire one. To avoid this I took some foam board and some pretty shelf liner to lay on the wire rack. I choose to put the foam board face down because who is really going to see that pretty shelf liner if it is under all my items??? I keep items that I use every so often up top like my sewing machine (I have never used it but I swear I am going to learn how to sew!), spray paints, photo albums, office supplies, and miscellaneous scrapbooking tools.


The biggest change I made was what lives in my big expedit. I thought about the last few times I worked at my desk what I used. I made a list, and then began moving those items into the expedit. I now have scrapbooking items that I use the most at my finger tips.


I of course had to label everything to satisfy my labeling obsession! 


Also in the lower cubes I have office supplies/tools that I use all the time, my planners/binders and files. This is a combo room and I do homework, planning, blogging, and more in this room.

 
In my bookcase I decided to only house my scrapbook albums that I am currently working on or know of pages that need to be added to them. My stickers still live in the zip up binders and my cricket cartridges fit perfect in my narrow shelf. I added my 8.5 x 11 cardstock papers as I use those a ton and need those with in reach. 


All my electrical cords live in the little drawer, and the big drawer is an open space to add items that need a space after living in this space awhile. The bottom shelf holds mostly my patterned paper in the carry cases.


The patterned paper was another disaster that you could see. I really needed to organize this as well. So here is what it looks like now! I love it.


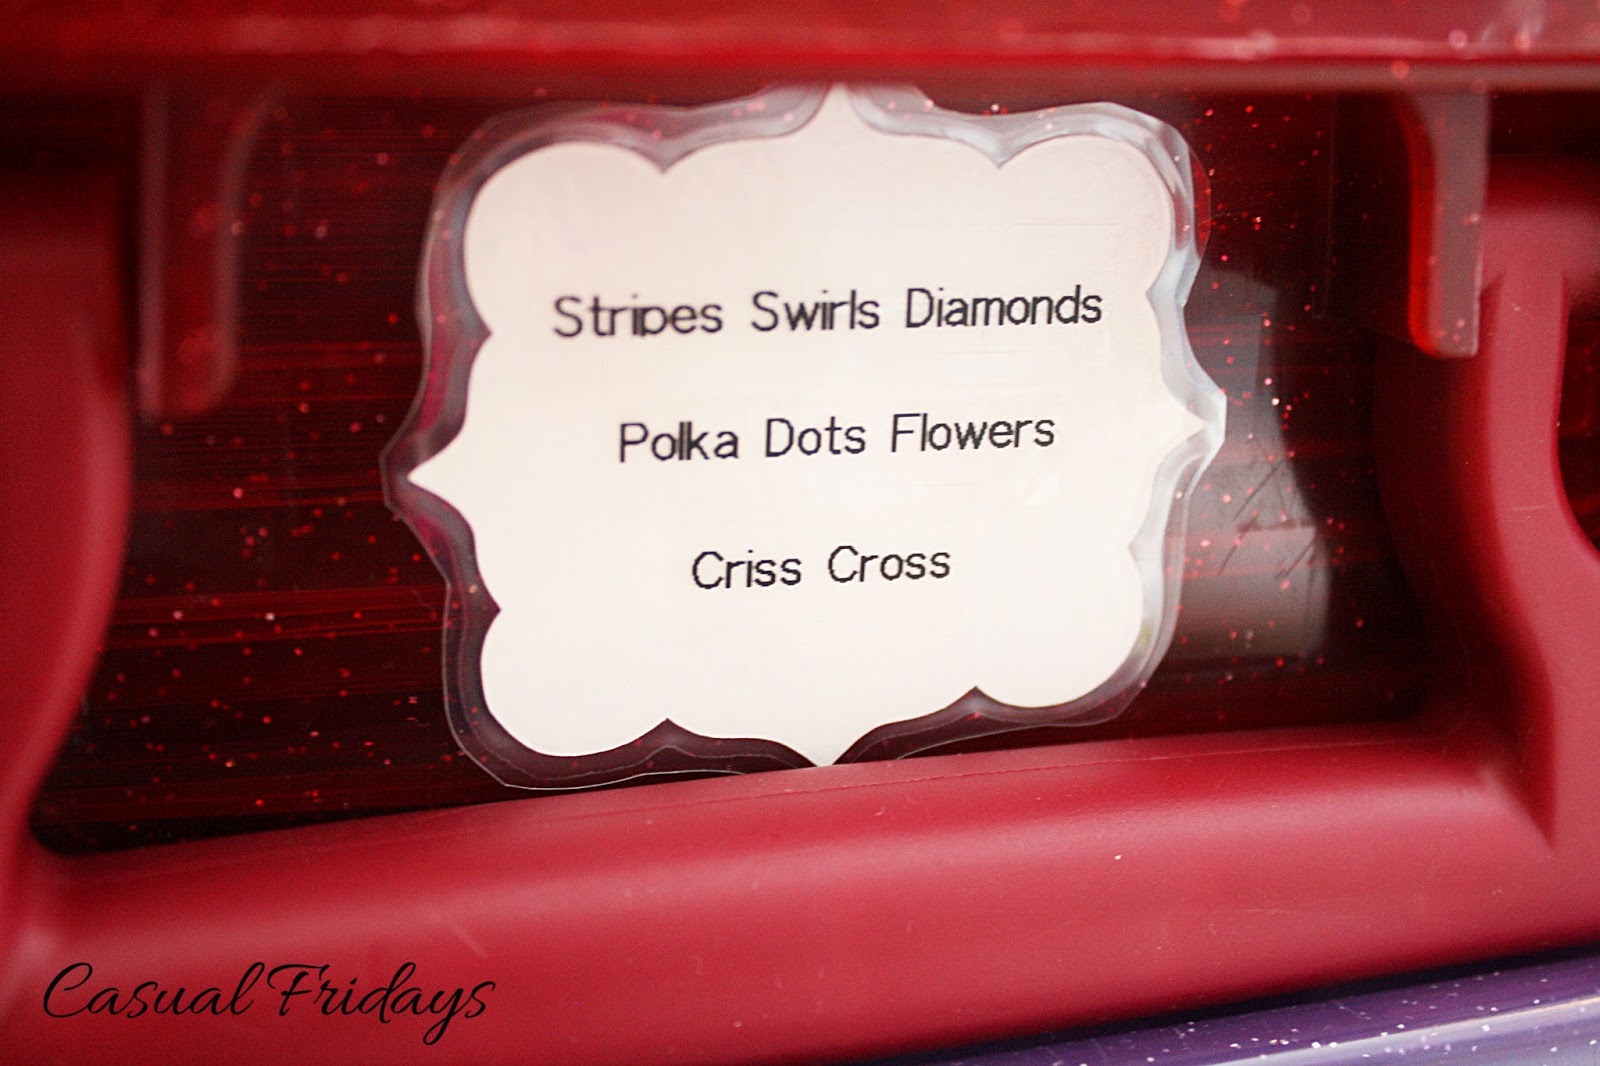
I sorted out my papers by what the papers were - stripes, polka dot, holiday, etc. Again using my favorite way to label -Washi tape and my label maker - I labeled inserts.  I then cut a label on my Silhouette and laminated it to create a label of what was in the box, and stuck it on the outside of the box. I laminated the label first because I like change. In 6 months I might not like having my patterned paper in these boxes, or I might accumulate more paper and need to shift paper around. With the label laminated I can just remove the label tape and make a new label to stick on there!


Another big change was this baby in the corner. There was no organization to these drawers. I had all kinds of stuff in each drawer and most of it were things I hadn't used in years. I am a firm believer in using up my scraps! So after every project I sort my solid scraps by color, and I used to keep them in a 12 x12 box (like the ones that hold my pattern paper). This worked for awhile but due to the various sizes of the paper it was becoming a mess. I decided to give each color it's own drawer. So now all my color scraps live here! The top drawer is my pattern scraps drawer for now. I am starting to get quite a few scraps so I might have to come up with a new place for these soon.


Across the room my 12 x 12 solid paper still live in these drawers, organized by the rainbow!


I still use my Cricut, so this guy lives on top of my smaller expedit. Below are in the cubes are items that I use but not daily, and items that I don't need at my fingertips. It houses a lot of my binders, school stuff, and photo boxes. 


This is where the tour ends. I hope you enjoyed your tour and maybe even picked up and idea that you can use. I would love to hear any of your ideas that you have used in your scrap room/craft room. Leave me a comment below!

My Scrapbook Gallery

One of the "non-visible" projects in organizing my scraproom, was to take pictures of all the layouts I have done, and post them to my gallery. This is a big, over due project!! I first had to wait for a some what sunny day, which here in Chicago, in the middle of winter, is hard to come by. Once my lighting was good I snapped away. 


I then did a little brightening, cropping and a few other edits in Photoshop and was ready to upload. When I went into my account at Scrapbook.com I had to make some edits here too. First off I was still 34!! Nice!! The boys were a little bit younger too. I also need to shift around some of the previous layouts I had in there, and separate out my paper layouts from my digital layouts. 


It took awhile to complete this project but I am so glad I got it done. I have learned so much from others sharing their techniques and tips that I just want to do the same -  pay it forward. So hop on over to my gallery and let me know what you think. 


Labeling - my favorite ways to label

I have been hard at work organizing my scrap room! Have I ever told you I LOVE to label things??? Well I do and my scrap room is my favorite place to do a labeling project. If you are a scraper you know how messy things get when your scrapping. I sometimes have to stop and clean up a bit before I can continue working on a page. 

I like to have a place for all my scrapbooking supplies and have them at my finger tips. I use several different types of storage bins to keep my supplies organized. But what good is a bin with scrapbooking supplies in them if there is no label on the outside of the bin telling me what goodies are inside. 

I have a few favorite ways to label. 

1. My favorite is Washi tape and my label maker. I use this type of labeling for file folders, but also used it in my re-organizing of my scrap room.


2. Making my own and laminating. Sometime I need a "tough" label, or a label that can get messy and would need to be wiped off. I love to make my labels in Photoshop and use all the neat fonts out there. However, for Christmas I got a Silhouette and something tells me that I will be playing with that the next time I need to make a label! 


3. My other favorite way to label is with chalkboard labels. I love to use these on containers that the contents in the container might change. I am constantly organizing. Sometimes my "OMG this is an awesome organizing idea" ends up flopping after living with the idea in action. Being able to wipe the label and write a new label makes those not so great ideas disappear!


What ways do you label? I would love for you to share your ideas. I am always looking for new ideas.

January's Focus - Organizing My Scraproom - The Details

My word this year is focus so I have been trying very hard to focus on one project at time and completing it from start to finish. So I just wanted to pop in with the details.

I am currently working on taking this mess:


and this mess:


to an organized state. There are some very visible projects and some not so visible projects involved in this re-organize of my scraproom. Here is the break down, and I will be showing you a few peeks every few days with the grand reveal at the end of the month

1. FUNCTION: now that I have lived in my scraproom for awhile I have found things I need are not where I need them. I sat in my room and really thought about what I need close to me, and what I use every so often that I didn't mind getting up for. I also thought about what is in this room that is does not need to be here.

2. CLOSET - I cannot do a California Closet at this time so I need to work within a small budget and make this storage area more efficient and organized. 

3. LABELING - it is needed all over my room!

4. PURGING - getting rid of or donating scrapbook items that I no longer use.

5. STORAGE - using all storage that I have on hand to make a more organized space.

6. UPDATING - updating my Scrapbook.com account to reflect what I have created. Updating my "scrapbook to do list" to know what pages I still need to do, what pages I need to add journaling (knowing the pages I need to create helps keep me focused). Updating my blog to reflect more of my love for scrapbooking memories.

My goal in this project is to create a space that functions for me, that shows me what I have available to create, that creates a sense of calm when I enter it, that keeps important tools at my fingertips. I am half way through this project but have a lot to go. So come on back to see my progress!